There are tutorials for all kinds of things out there, and whenever there's something awesome that someone has made, the project gets put on my to-do list. And my list is loooooonnnnggg, let me tell you!
Like the post title says, this is a tutorial of sorts for a freezer paper transfer and for homemade chalk paint...try these techniques at your own risk...read on and you'll see what I mean.
Here's Part One of a recent 'inspired' project:
This started out as a dark wooden wall box thingee. I sanded it down (along with some cheese plates - that's another post), ready for some paint.
I tried my hand at some homemade chalk paint - three shades of it: cream, lilac, and yellow. Since I'm
lazy thrifty, and baking soda was already on hand, that's the recipe I made. About a
handful tablespoon of baking soda to a
small splash half cup of paint, plus a smidge of water...are you getting the picture that measuring ain't my thang??
One tip that seems to work well is to dissolve the baking soda in water before adding it to the paint - it makes the paint smoother, but still has the same sanding properties. Anyway, back to the box thingee...
 |
| Painting like crazy on one of the last warmish days in Michigan! |
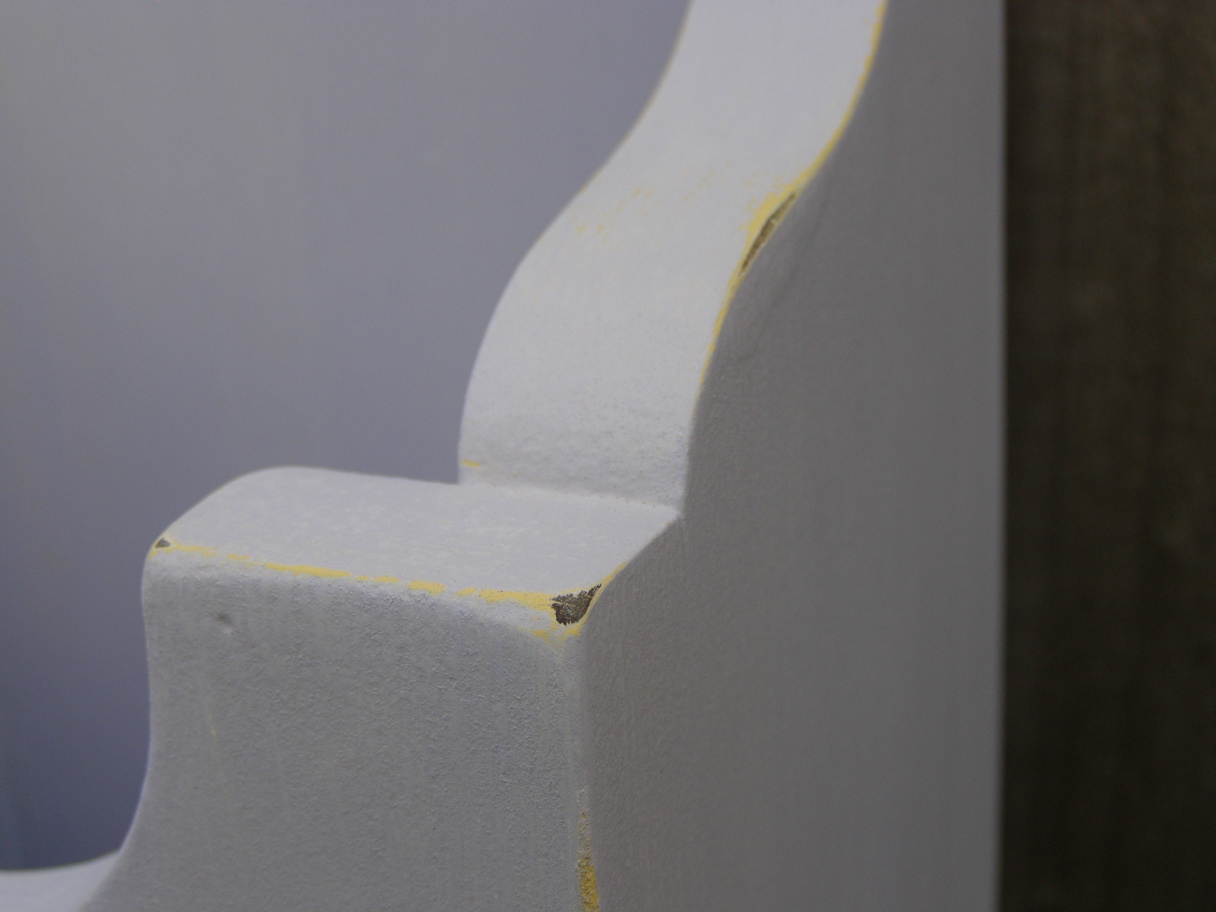
See that yellow thing on top of the paint can/on top of the box/on top of the table? Well, that's the painted box. Painted with some buttery yellow oops paint (thank you Home Depot! Oh, and this post isn't sponsored by HD - I just end up there every other day, but I digress, as usual). Which was made into homemade chalk paint. Which was painted over a lovely lilac homemade chalk paint. So the lilac would peek through after distressing. Except for one thing...
After sanding the lovely, buttery yellow...it turned into a horrible, putrid chartreuse color. It truly was awful and thanks to the magic of paint, it was quickly repainted back to lilac. Whew!
With distressing, the yellow shows a little but isn't obnoxious. But the box needed something...
Part Two of this post:
One thing that I'm always on the look out for is a good transfer method. Overhead projectors, carbon paper, homemade carbon paper, citra-solve - there are many methods out there and I've tried a few with ok results.
That's why I was excited when I read about a method using freezer paper and an inkjet - both of those things I already had! I used freezer paper for my
curbside table stencil and it worked ok, but this was for a transfer of a detailed image.
I read the directions: adhere freezer paper waxy side out to a sheet of paper. Print out your image, place it where it's to be transferred, burnish with a spoon, and instant detailed image. Easy, right?
Well, late at night is not the time to be trying new projects.
- I forgot to mirror the image with the text; fail.
- I didn't use spray adhesive to glue the freezer paper to the regular paper (the first time); fail.
- I thought I remembered the directions, but forgot about dampening the wood before placing the image on it; fail.
- I was able to wipe off the backwards text, properly adhere the freezer paper with spray adhesive, print out new text, dampen the wood...and smeared it completely; fail.
I thought about getting pictures of each of these failed steps, but honestly you get the picture. It didn't work, so pictures were not taken. The image was wiped off with a damp rag, and then painted over, and I'd try it again when in my right mind :)
Part Three:
After a few days of not thinking about this
at all, it was time to try again. I almost gave up and stenciled the project, but
I'm not a quitter I wanted to show off my mad skills I really, really wanted to figure this out so I could do it again!
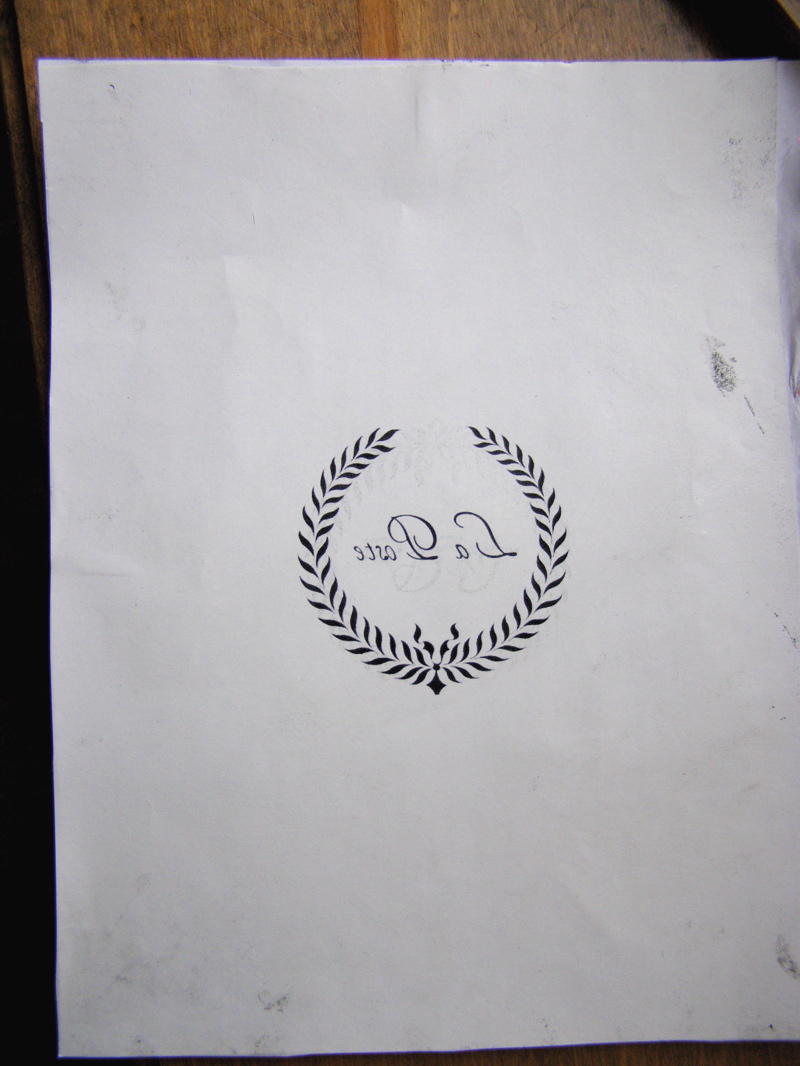
Image of properly adhered freezer paper, with a properly mirrored image:
 |
| You can see that this paper has been through the printer a few times because of my mistakes...it wipes off, but leaves a ghosted image. Seems to be fine though. |
After properly dampening the box and
after looking around for where I put down the image after letting it dry just a bit, I carefully
lined up and centered guessed on placement for the image (maybe putting it on a transparency would've been a better idea? Ya think??) and burnished it really well with the back of a spoon. For even longer than 10 seconds. Like for 12 seconds at least. 40 seconds probably would've been best.
Now it's very important to not move the image around or you'll get a smeary image. Trust me on this one (see above...way above...like in Part Two of this obnoxiously long post...).
Here is the transferred image:
 |
| With dampening, the image turned out much darker than my first try. |
 |
| It smeared just a little in spots, but a dampened q-tip cleaned up those areas. |
 |
| Best shot on a cloudy day - sorry it's tilted, but this is the only way I could get the whole box in the light. |
My little 'La Poste' box will live on my kitchen table for now. That's where I do all my mail sorting/recycling, plus I'm not sure where else to put it ;)
And see that picture of my and my hubs? It's a pretty funny story about how that all happened...maybe I'll tell ya sometime.
Here are a couple of thoughts on the transfer method and homemade chalk paint:
- Mixing the baking soda with water before adding the paint makes the paint much smoother, but doesn't affect the chalky qualities of the paint. I did try it without dissolving the baking soda in water first, and the paint was very thick and lumpy. Makes for more sanding. Just sayin.
- Putting the image on a transparency would've been a good idea for placement - will try that next time...and no sticky mess with spray adhesive - bonus!
- Dampen where you need to transfer, but be careful not to get it too wet or the ink will just smear.
- Putting the transfer onto chalk paint doesn't leave a perfect transfer because chalk paint is a bit textured to begin with; transferring to a smooth surface would leave a better impression. If you're going for a distressed, old-ish look anyway, then transferring onto chalk paint is fine.
- Make sure you let the transferred image DRY before touching it!!
- Make sure you don't seal it with anything water-soluable or it will smear!! Use an oil-based sealer and test it on another piece first just in case.
And there you have it! Learn from my mistakes if you try this - and remember that with these projects, there's nothing that can't be fixed with a little more paint ;)
Knick of Time Tuesday Party
Boogie Board Cottage Masterpiece Monday
The Idea Room
A Picture is Worth 1,000 Words 2nd Time Around
Blue Cricket Design's Show and Tell